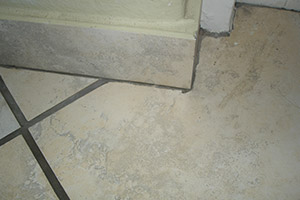
Grouts
CAUSES OF FAILURE:
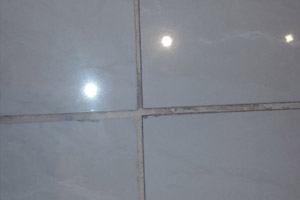
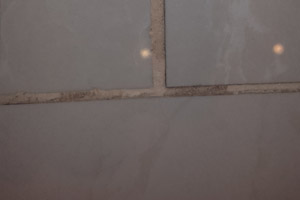
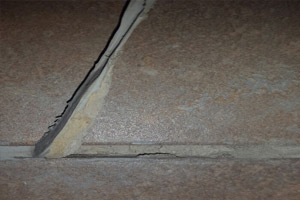
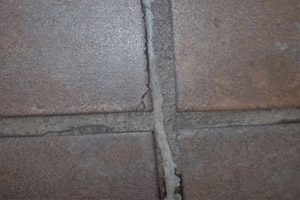
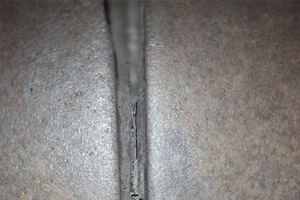
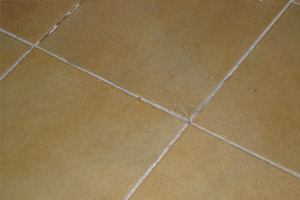
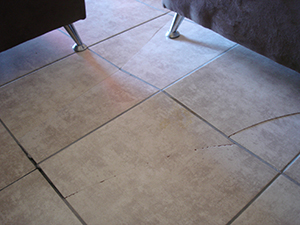
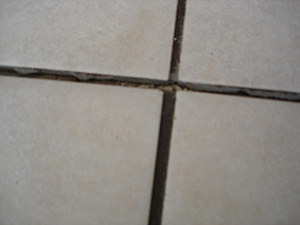
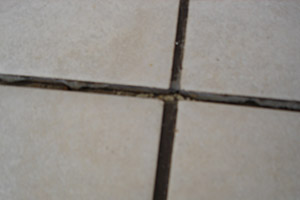
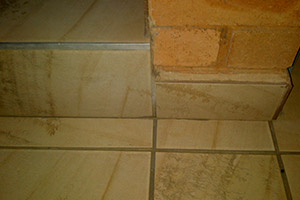
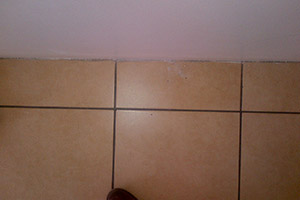
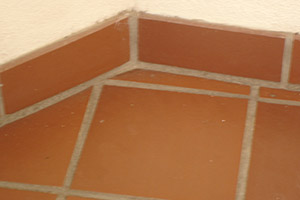
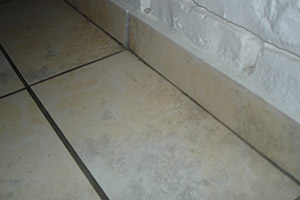
- Cracked grout – dried too quickly or gap too wide
- Powdery grout
- Sagging grout – too much water
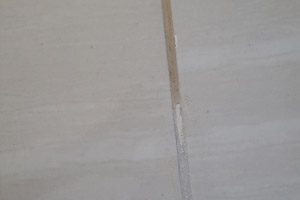
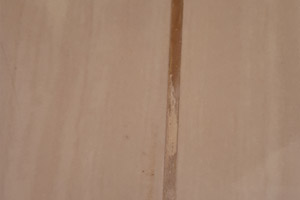
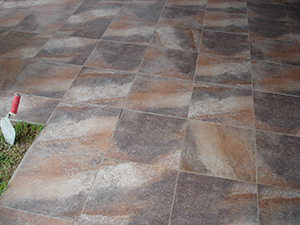
- Colour mismatch – different suppliers / adhesive not removed / time to dry
- Discolouration
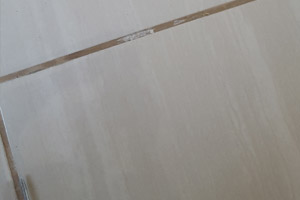
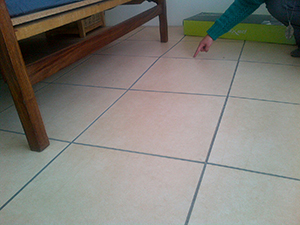
- Butt jointing tiles
LESSONS LEARNT
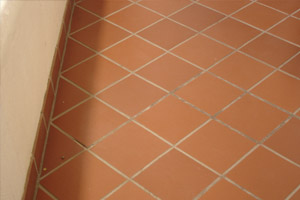
Grout failure can be avoided by following the correct procedure for applying grout:
- Apply the Ezee Tile Grout with a rubber squeegee diagonally across the joint width while the mix is still fresh.
- Allow the grout to harden for 1-2 hours before removing excess grout residue from the tiles using a damp, not wet, sponge.
- Once the grout has completely set after 24 hours, polish the tiles with a dry soft cloth. A wet cloth will not remove the film of grout residue.
- Add Ezee Tile bonding liquid – replace the water in the mix in conditions where additional mechanical strength, flexibility or water resistance is required
CAUSES OF FAILURE:
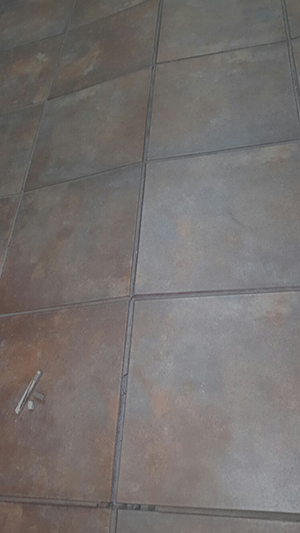
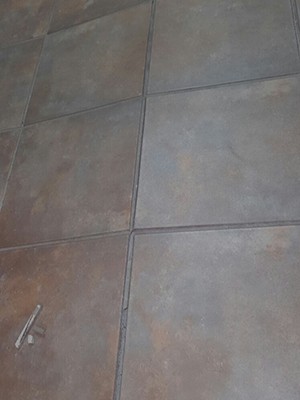
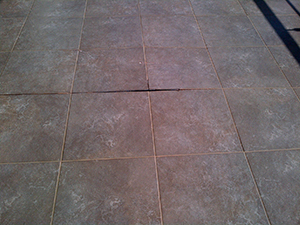
Tenting
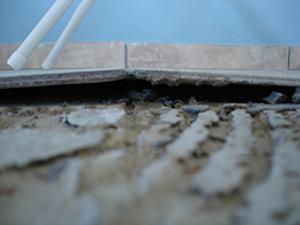
In a tenting failure, the ceramic tile usually comes clean off the adhesive bed, leaving an imprint of its backing. This is often misinterpreted to be a sign of a poor quality adhesive when it is actually a sign of a good quality, strong adhesive.
The concrete and tile adhesive both have cement as the binder and so they bond very well together. However, since ceramic tiles are made from clay, the bond between it and the cement in the adhesive is usually fractionally weaker. The cleavage plane or the point of failure will always occur at the weakest point in the bond which is why the tile comes off clean.
Another common type of failure is when the adhesive comes clean off the substrate and remains stuck to the tile.
Since the cleavage plane is at the weakest point in the bond, this is a clear indication of poor surface preparation (i.e. tiling onto a dusty floor or not applying a basecoat slurry to a steel floated floor).
LESSONS LEARNT
- Determine the factors that can reduce the sheer stress within a tiled floor to acceptable levels
- In a successful application, the sum total of the stresses is weaker than the tensile strength (bond strength) of the adhesive
- The greatest contributor to the sheer stress is the concrete and its rate of shrinkage. The easiest way to counter this is by ensuring the concrete is given sufficient time to cure before tiling.
- The SABS standard calls for a minimum period of 28 days from the laying of the concrete and tiling.
- With fast track building this period can often not be adhered to. In this case, the bond strength of the system must be increased to handle the higher stress. The most common methods would be to:
- 1. Use a high quality flexible polymer-based tile adhesive instead of a contractors grade
- 2. Increase the strength of a contractors grade by mixing with a bonding liquid instead of water<
- 3. Apply a basecoat / keying agent slurry to the substrate prior to applying adhesive and tiling
- 4. The ambient conditions, more specifically temperature fluctuations, must be considered.
- 5. Dark coloured tiles on a north facing balcony will expand and contract significantly more than a light coloured tile in a south facing room.
- Temperate fluctuations also explain why winter is known as “popping season” in the South African tile industry. In winter, the difference between the maximum and minimum temperatures is at its highest and consequently, tile expansion and contraction is also at its highest. This effect is further compounded by people using heaters, fires and underfloor heating to warm rooms.
- The size of the tile is another parameter which affects sheer stress. As the tile size increases, so does the sheer stress in the system. This is evidenced by the fact that as the size of tiles has increased in recent years, so has the incidence of tenting. Once a tile is above 500mm x 500mm, the use of a flexible polymer modified adhesive is recommended.
- The quality of the application is vitally important. A good quality tiler can make a poor quality adhesive work while a poor quality tiler will make the highest quality adhesive fail.
- Contact between the tile and adhesive must be as high as possible – no less than 80% of the surface of the tile must be bedded into the adhesive. Another important factor is the thickness of the tile adhesive bed under the tile.
CAUSES OF FAILURE:
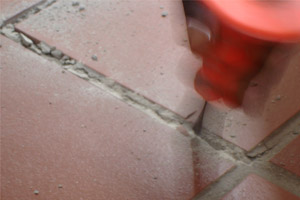
Excess tile adhesive not removed from between tiles prior to grouting
Tile adhesive is relatively hard and it tends to transfer sheer stress from one tile to another. This results in huge sheer in the middle of the tiled room and tenting.
LESSONS LEARNT
- A properly designed grout is softer and more flexible to act as a cushion to help reduce the transfer of sheer. This is, however, only partially true as sheer stress increases as the joint width decreases.
- With butt jointed tiles, 100% of the sheer is transferred from tile to tile but less than 10% is transferred if the joint width is larger than 4 mm. There is a trend towards smaller joints but clients must be informed that this will increase the risk of an adhesion failure in the project.
CAUSES OF FAILURE:
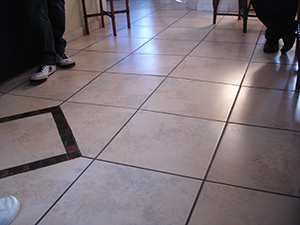
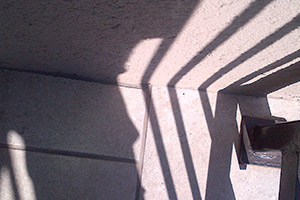
Lack of expansion and movement joints
Since expansion joints localise failures to within the panels, repair work is quicker and more cost effective as the areas to repair are smaller.
LESSONS LEARNT
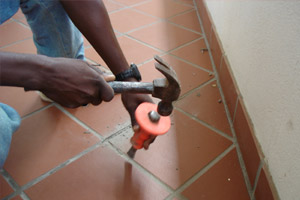
- One of the more important application practices to reduce sheer forces is the installation of perimeter and intermediate expansion joints.
- Expansion joints break the transfer of sheer across the floor resulting in lower stresses at the centre of the panels.
- Failing to make provision for expansion and movement joints will result in a failure of the tile installation “tenting” of tiles.
 '>
'>